Wet Rot Repair in Ealing: Costs, Process and Prevention
Wet Rot Repair: Costs, Process and Prevention Wet rot is one of those problems that can creep up quietly. A…
Why you can trust our content
At a glance
Wet Rot Repair: Costs, Process and Prevention
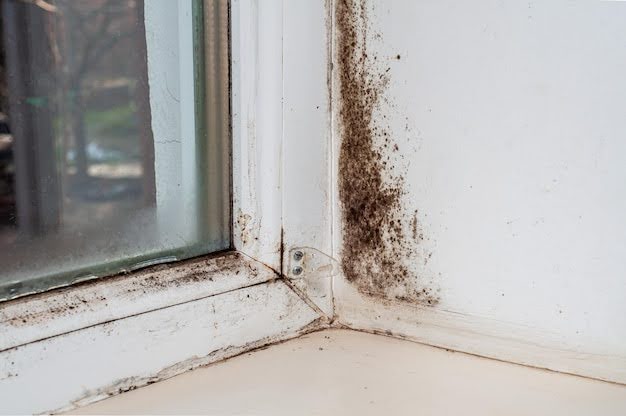
Wet rot is one of those problems that can creep up quietly. A bit of flaking paint, a soft window sill or a spongy section of floor might not look too dramatic at first. Yet behind these small signs there can be serious decay in the timber that supports your home.
The good news is that wet rot is usually localised and easier to control than many people fear, provided it is diagnosed properly and treated in a structured way. Understanding the process and the likely costs helps you plan repairs calmly instead of guessing.
This guide walks you through how wet rot starts, what affects the price of repairs, what good remedial work should include, and how to stop the problem returning.
If you are already worried about suspect timber, you can contact our team at Anke Damp Proofing to arrange a professional inspection and clear guidance on the best next steps.
What exactly is wet rot and where does it appear?
Wet rot is a form of fungal decay that attacks timber which stays damp for long periods. Unlike dry rot, it tends to remain close to the moisture source rather than spreading far through a building.
Common locations include:
- External door frames and window sills
- Floor timbers near damp walls or leaking pipes
- Skirting boards and architraves affected by long term damp
- Roof timbers near leaking tiles or flashing
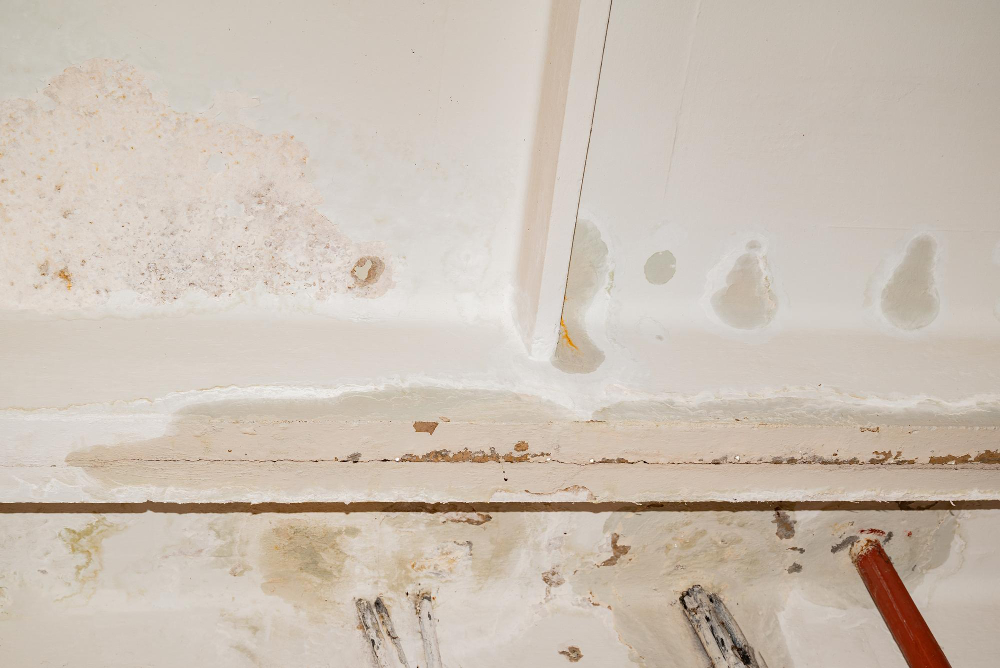
Because it is driven by moisture, you will often find wet rot in areas with poor detailing, slow leaks or long term condensation. Repairing the timber without tackling the moisture source almost always leads to the problem returning.
Working with an experienced wet rot company helps ensure both the decay and its cause are addressed together.
How much does it usually cost to fix wet rot?
There is no single figure that works for every home. The cost to fix wet rot depends on how far the decay has spread, how easy it is to reach, and how complex the reinstatement work needs to be.
Key factors that influence price include:
- Extent of damage
A small patch of rot in one window sill is very different from several affected floor joists or roof timbers. - Accessibility
Exposed timbers are quicker to work on than those hidden behind finishes, under floors or in tight loft spaces. - The moisture source
Repairing a minor plumbing leak is normally straightforward. Fixing long term penetrating damp or poor sub floor ventilation can be more involved. - Type of finishes to be reinstated
Simple skirtings and basic flooring are faster to replace than detailed joinery or high end finishes. - Need for additional trades
Some projects require follow up work from decorators, roofers or general builders as part of the overall package.
A sensible process is to start with an inspection, receive a written summary of what is affected, then obtain an itemised quotation so you can see exactly how the cost is built up.
What does a typical wet rot repair process involve?
Although every property is different, most good repair schemes follow a similar sequence.
- Investigation and opening up
- Identify all timbers that are affected or at risk.
- Carefully remove finishes where needed to expose the full extent of decay.
- Identify all timbers that are affected or at risk.
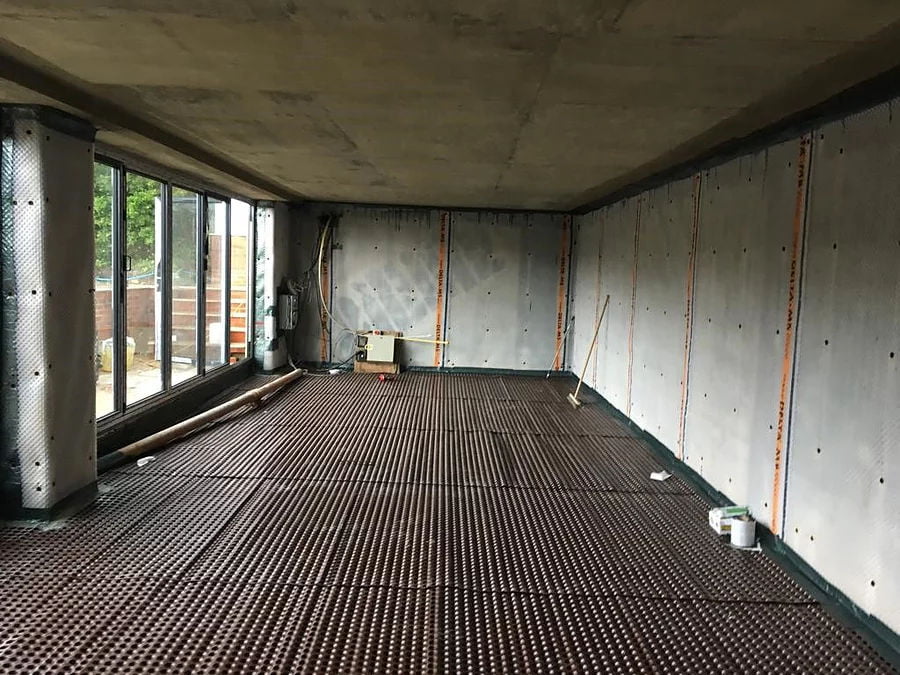
- Dealing with the moisture source
- Fix leaks, defective gutters, high ground levels or poor detailing.
- Improve ventilation if still air or condensation is contributing to the problem.
- Fix leaks, defective gutters, high ground levels or poor detailing.
- Timber replacement or repair
- Cut out decayed timber back to sound material.
- Replace with new treated timber or, in some cases, use approved repair systems.
- Cut out decayed timber back to sound material.
- Preservative treatments
- Apply suitable treatments to adjacent wood and sometimes nearby masonry to protect against future decay.
- Apply suitable treatments to adjacent wood and sometimes nearby masonry to protect against future decay.
- Making good
- Reinstate skirtings, flooring, linings and other finishes.
- Leave surfaces ready for redecoration once any residual moisture has stabilised.
- Reinstate skirtings, flooring, linings and other finishes.
A competent wet rot company will talk you through each of these stages and explain how they apply to your specific home.
What type of service do you need?

Cavity Wall Insulation

External Wall Insulation System
(Includes Silicone Render)

Silicone Render Only
It just takes 60 Second
And then you can book a free consultation
How do wet rot repair options compare?
To give a clearer picture, the table below sets out how different repair scenarios typically look.
| Scenario | Typical Work Involved | Disruption Level |
| Localised damage to a window sill | Remove decayed section, splice in new timber, redecorate | Low – usually external |
| Rot in a small section of floorboard | Lift boards, replace affected pieces, fix minor leak | Low to medium |
| Several joists affected in one room | Open up floor, replace joists, improve sub floor airflow | Medium |
| Rot around a bathroom or kitchen leak | Plumbing repairs, timber replacement, new finishes | Medium to higher |
| Roof timbers affected near a valley | Roof repairs, timber upgrades, access scaffolding | Higher |
The more areas that are affected, the more time and materials are needed, which naturally increases the cost to fix wet rot. This is why early intervention is so valuable.
Can anything be done to control the cost without cutting corners?
Yes, provided safety and long term protection are not compromised.
Practical ways to manage cost include:
- Phasing the work
Address the most urgent areas first, especially where structural strength is affected, then return to less critical elements when budgets allow. - Combining with planned refurbishment
If you are already planning to change flooring, kitchens or bathrooms, aligning wet rot repairs with that work can avoid paying twice for opening up and reinstating. - Agreeing clear standards of finish
Deciding whether you need simple making good or more detailed joinery and decoration helps keep expectations and pricing aligned.
A professional contractor should discuss these options openly rather than simply suggesting the most expensive route.
If you want to explore different repair and phasing options for your own home, you can speak to Anke Damp Proofing about creating a tailored wet rot plan that fits your priorities and budget.
How do you choose the right wet rot company?
Selecting the right people to carry out the work is just as important as understanding the process itself.
When you are comparing options, consider:
- Survey quality
Do they offer a structured inspection with clear written findings, not just a quick visual look and a verbal quote? - Experience with similar properties
Have they worked on homes of a similar age and construction to yours, so they understand likely hidden issues? - Clarity of specification
Is it clear which timbers will be replaced, what treatments will be used and how moisture sources will be tackled? - Communication and aftercare
Will they explain drying times, decorating guidance and any routine checks you need to carry out after the work?
A reliable wet rot company will welcome detailed questions and provide documentation rather than simply pushing for a fast decision.
How can you help prevent wet rot from coming back?
Once repairs are complete, a few simple habits can make a big difference to the long term health of your timber.
Useful measures include:
- Keeping gutters, downpipes and roof coverings in good condition
- Ensuring external ground levels and paving fall away from walls
- Ventilating kitchens and bathrooms to limit condensation
- Maintaining airflow in floor voids and roof spaces
- Dealing promptly with leaks from pipes, appliances or radiators
Your contractor should also explain any specific checks that apply to your home, such as monitoring certain areas in the first year after repairs.
Related articles

What type of service do you need?
Cavity Wall Insulation
External Wall Insulation System
(Includes Silicone Render)
Silicone Render Only
At a glance
Wet Rot Repair: Costs, Process and Prevention
Wet rot is one of those problems that can creep up quietly. A bit of flaking paint, a soft window sill or a spongy section of floor might not look too dramatic at first. Yet behind these small signs there can be serious decay in the timber that supports your home.
The good news is that wet rot is usually localised and easier to control than many people fear, provided it is diagnosed properly and treated in a structured way. Understanding the process and the likely costs helps you plan repairs calmly instead of guessing.
This guide walks you through how wet rot starts, what affects the price of repairs, what good remedial work should include, and how to stop the problem returning.
If you are already worried about suspect timber, you can contact our team at Anke Damp Proofing to arrange a professional inspection and clear guidance on the best next steps.
What exactly is wet rot and where does it appear?
Wet rot is a form of fungal decay that attacks timber which stays damp for long periods. Unlike dry rot, it tends to remain close to the moisture source rather than spreading far through a building.
Common locations include:
- External door frames and window sills
- Floor timbers near damp walls or leaking pipes
- Skirting boards and architraves affected by long term damp
- Roof timbers near leaking tiles or flashing
Because it is driven by moisture, you will often find wet rot in areas with poor detailing, slow leaks or long term condensation. Repairing the timber without tackling the moisture source almost always leads to the problem returning.
Working with an experienced wet rot company helps ensure both the decay and its cause are addressed together.
How much does it usually cost to fix wet rot?
There is no single figure that works for every home. The cost to fix wet rot depends on how far the decay has spread, how easy it is to reach, and how complex the reinstatement work needs to be.
Key factors that influence price include:
- Extent of damage
A small patch of rot in one window sill is very different from several affected floor joists or roof timbers. - Accessibility
Exposed timbers are quicker to work on than those hidden behind finishes, under floors or in tight loft spaces. - The moisture source
Repairing a minor plumbing leak is normally straightforward. Fixing long term penetrating damp or poor sub floor ventilation can be more involved. - Type of finishes to be reinstated
Simple skirtings and basic flooring are faster to replace than detailed joinery or high end finishes. - Need for additional trades
Some projects require follow up work from decorators, roofers or general builders as part of the overall package.
A sensible process is to start with an inspection, receive a written summary of what is affected, then obtain an itemised quotation so you can see exactly how the cost is built up.
What does a typical wet rot repair process involve?
Although every property is different, most good repair schemes follow a similar sequence.
- Investigation and opening up
- Identify all timbers that are affected or at risk.
- Carefully remove finishes where needed to expose the full extent of decay.
- Identify all timbers that are affected or at risk.
- Dealing with the moisture source
- Fix leaks, defective gutters, high ground levels or poor detailing.
- Improve ventilation if still air or condensation is contributing to the problem.
- Fix leaks, defective gutters, high ground levels or poor detailing.
- Timber replacement or repair
- Cut out decayed timber back to sound material.
- Replace with new treated timber or, in some cases, use approved repair systems.
- Cut out decayed timber back to sound material.
- Preservative treatments
- Apply suitable treatments to adjacent wood and sometimes nearby masonry to protect against future decay.
- Apply suitable treatments to adjacent wood and sometimes nearby masonry to protect against future decay.
- Making good
- Reinstate skirtings, flooring, linings and other finishes.
- Leave surfaces ready for redecoration once any residual moisture has stabilised.
- Reinstate skirtings, flooring, linings and other finishes.
A competent wet rot company will talk you through each of these stages and explain how they apply to your specific home.
What type of service do you need?
Cavity Wall Insulation
External Wall Insulation System
(Includes Silicone Render)
Silicone Render Only
It just takes 60 Second
And then you can book a free consultation
How do wet rot repair options compare?
To give a clearer picture, the table below sets out how different repair scenarios typically look.
| Scenario | Typical Work Involved | Disruption Level |
| Localised damage to a window sill | Remove decayed section, splice in new timber, redecorate | Low – usually external |
| Rot in a small section of floorboard | Lift boards, replace affected pieces, fix minor leak | Low to medium |
| Several joists affected in one room | Open up floor, replace joists, improve sub floor airflow | Medium |
| Rot around a bathroom or kitchen leak | Plumbing repairs, timber replacement, new finishes | Medium to higher |
| Roof timbers affected near a valley | Roof repairs, timber upgrades, access scaffolding | Higher |
The more areas that are affected, the more time and materials are needed, which naturally increases the cost to fix wet rot. This is why early intervention is so valuable.
Can anything be done to control the cost without cutting corners?
Yes, provided safety and long term protection are not compromised.
Practical ways to manage cost include:
- Phasing the work
Address the most urgent areas first, especially where structural strength is affected, then return to less critical elements when budgets allow. - Combining with planned refurbishment
If you are already planning to change flooring, kitchens or bathrooms, aligning wet rot repairs with that work can avoid paying twice for opening up and reinstating. - Agreeing clear standards of finish
Deciding whether you need simple making good or more detailed joinery and decoration helps keep expectations and pricing aligned.
A professional contractor should discuss these options openly rather than simply suggesting the most expensive route.
If you want to explore different repair and phasing options for your own home, you can speak to Anke Damp Proofing about creating a tailored wet rot plan that fits your priorities and budget.
How do you choose the right wet rot company?
Selecting the right people to carry out the work is just as important as understanding the process itself.
When you are comparing options, consider:
- Survey quality
Do they offer a structured inspection with clear written findings, not just a quick visual look and a verbal quote? - Experience with similar properties
Have they worked on homes of a similar age and construction to yours, so they understand likely hidden issues? - Clarity of specification
Is it clear which timbers will be replaced, what treatments will be used and how moisture sources will be tackled? - Communication and aftercare
Will they explain drying times, decorating guidance and any routine checks you need to carry out after the work?
A reliable wet rot company will welcome detailed questions and provide documentation rather than simply pushing for a fast decision.
How can you help prevent wet rot from coming back?
Once repairs are complete, a few simple habits can make a big difference to the long term health of your timber.
Useful measures include:
- Keeping gutters, downpipes and roof coverings in good condition
- Ensuring external ground levels and paving fall away from walls
- Ventilating kitchens and bathrooms to limit condensation
- Maintaining airflow in floor voids and roof spaces
- Dealing promptly with leaks from pipes, appliances or radiators
Your contractor should also explain any specific checks that apply to your home, such as monitoring certain areas in the first year after repairs.
Related articles
What type of service do you need?
Cavity Wall Insulation
External Wall Insulation System
(Includes Silicone Render)
Silicone Render Only